
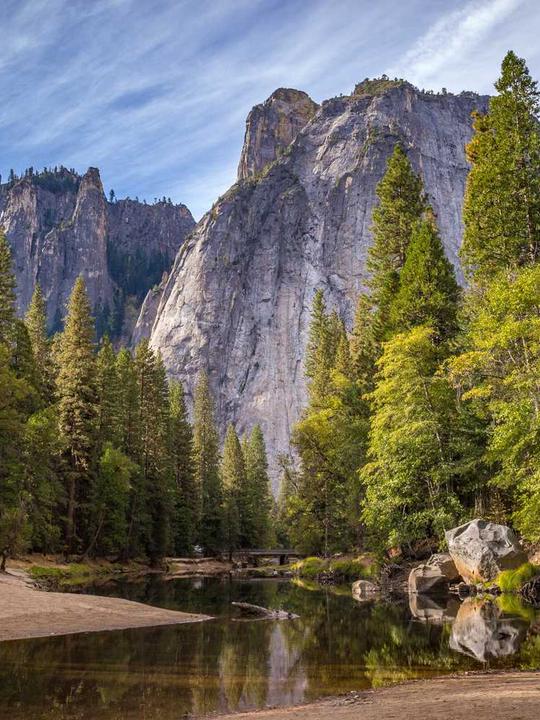
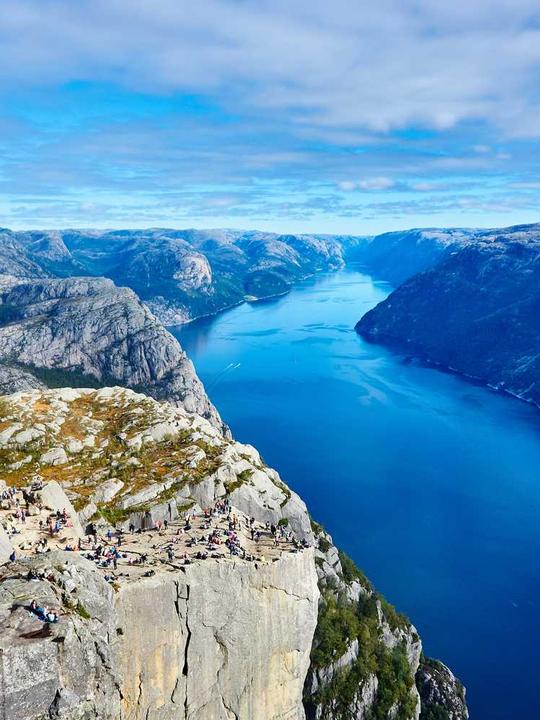




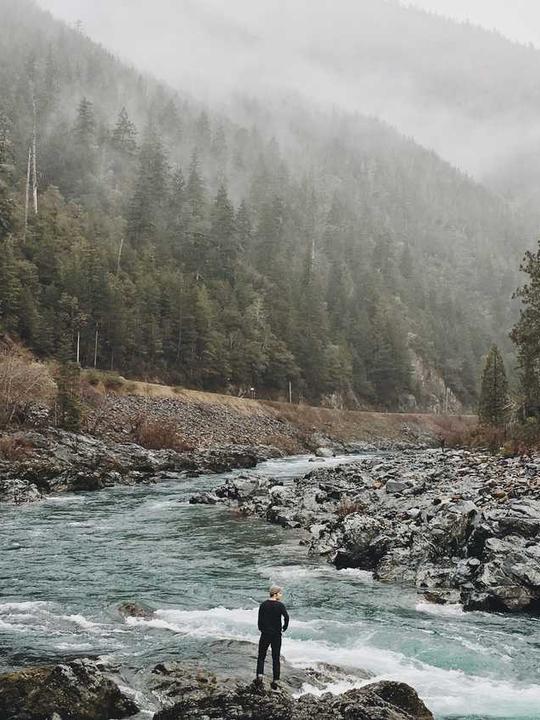
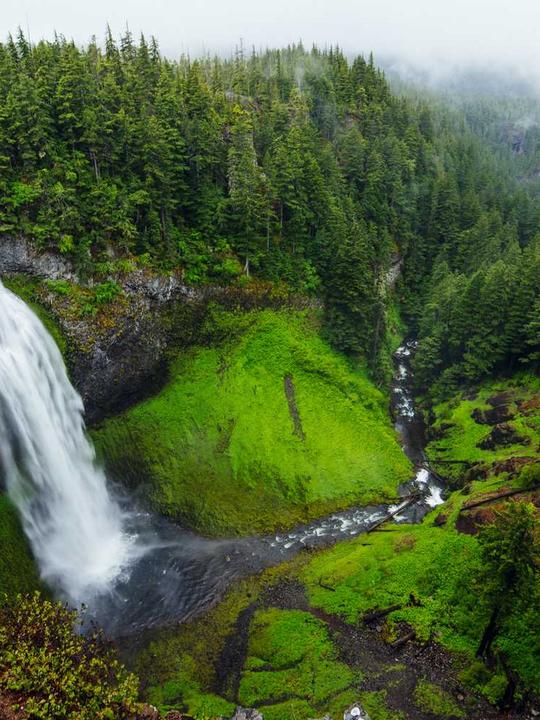
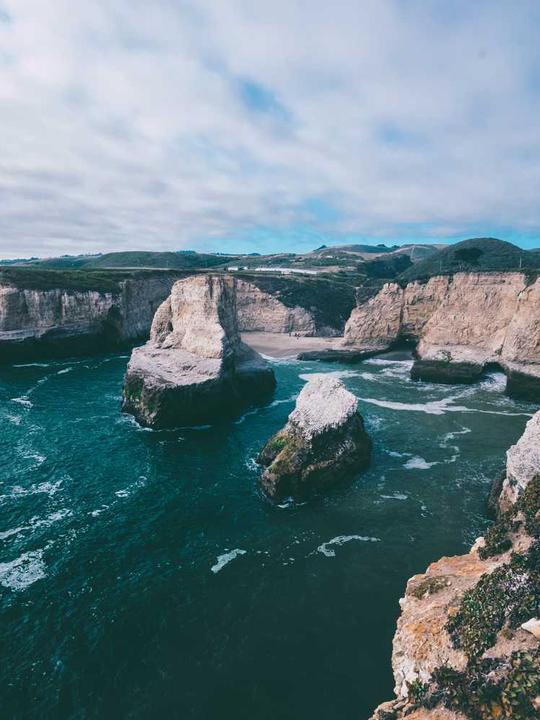
This example uses the same nine photos, colors and crops in both layouts above. It demonstrates a deliberate order, not a filter or automatic enhancement.
1. Choose the example or your own photos
Open the Feed Planner and choose Try the example. The example is labeled and stays separate from your saved project. If a saved project is already open, keep working on it or export a project backup before clearing it; the example never replaces it automatically.
To use your own pictures, choose Add images. While viewing the example, Choose my photos replaces the sample images after at least one valid photo loads. Canceling the picker or choosing an invalid file keeps the example intact. You can also choose Start my own project to leave the example and start empty.
2. Make one specific change to the order
The sample opens in the Before order above. Use drag-and-drop or, on a narrow screen, the earlier/later arrow buttons. Arrange the photos in this order:
| Row | Left | Middle | Right |
|---|---|---|---|
| 1 | Blue fjord | Waterfall | Mountain lake |
| 2 | Orange desert | Misty river | Coastal cliffs |
| 3 | Dog in a blanket | Coffee | Lion |
The aim is to place related scenes together. This is one possible arrangement, not an objectively best feed. Create a second scenario before experimenting if you want to compare two orders without losing the first. Undo and Redo let you try a move safely.
3. Check crops in both contexts
Keep the preview at 3:4 for this example. Select a tile to zoom, rotate or move its crop. On mobile, continue to Adjust and select the tile number you want to edit.
The post export preview in the tile inspector is a separate view. If you plan to download 4:5 posts, check this view as well: a 4:5 post and a 3:4 profile thumbnail show different areas. Changing the post ratio does not change your approval preview.
4. Download the result you need
- Grid only (PNG): one composite image using the selected display ratio and tile edits. Use it to review the overall layout.
- Download profile mockup: the same planned grid with a simplified profile header and an optional phone frame. It is an approval illustration, not a pixel-perfect capture of the Instagram app.
- Download posts (ZIP): individual PNG images at the separate post export ratio, plus a matching posting checklist. These are the files to inspect before manually publishing.
- Export ZIP under Checklists & project file: a project backup with images for continuing work later. This is different from the rendered posts ZIP.
For this example, the default 3:4 grid download has nine cells in three columns; changing the post export ratio to square must not turn that approval grid into square cells. The individual posts ZIP does use the selected post ratio.
5. Continue with your real project
Use your own originals for publishing. The small example photos are for learning the workflow. Real projects are stored in this browser; export a project ZIP before clearing browser storage or switching devices. An example project is temporary, even after you reorder it.
For a client review, follow the feed preview and approval workflow. If your starting point is an existing account, use Screenshot Import. If it is one continuous image, use Tile Splitter and check its target ratio before downloading.